How to Choose a Stove Gap Cover for Uneven Counters
Measure the seam at the front, middle and back on both sides, then match the profile. A strip bridges a gap; it does not level a range that sits too high.
 Lena Schmidt
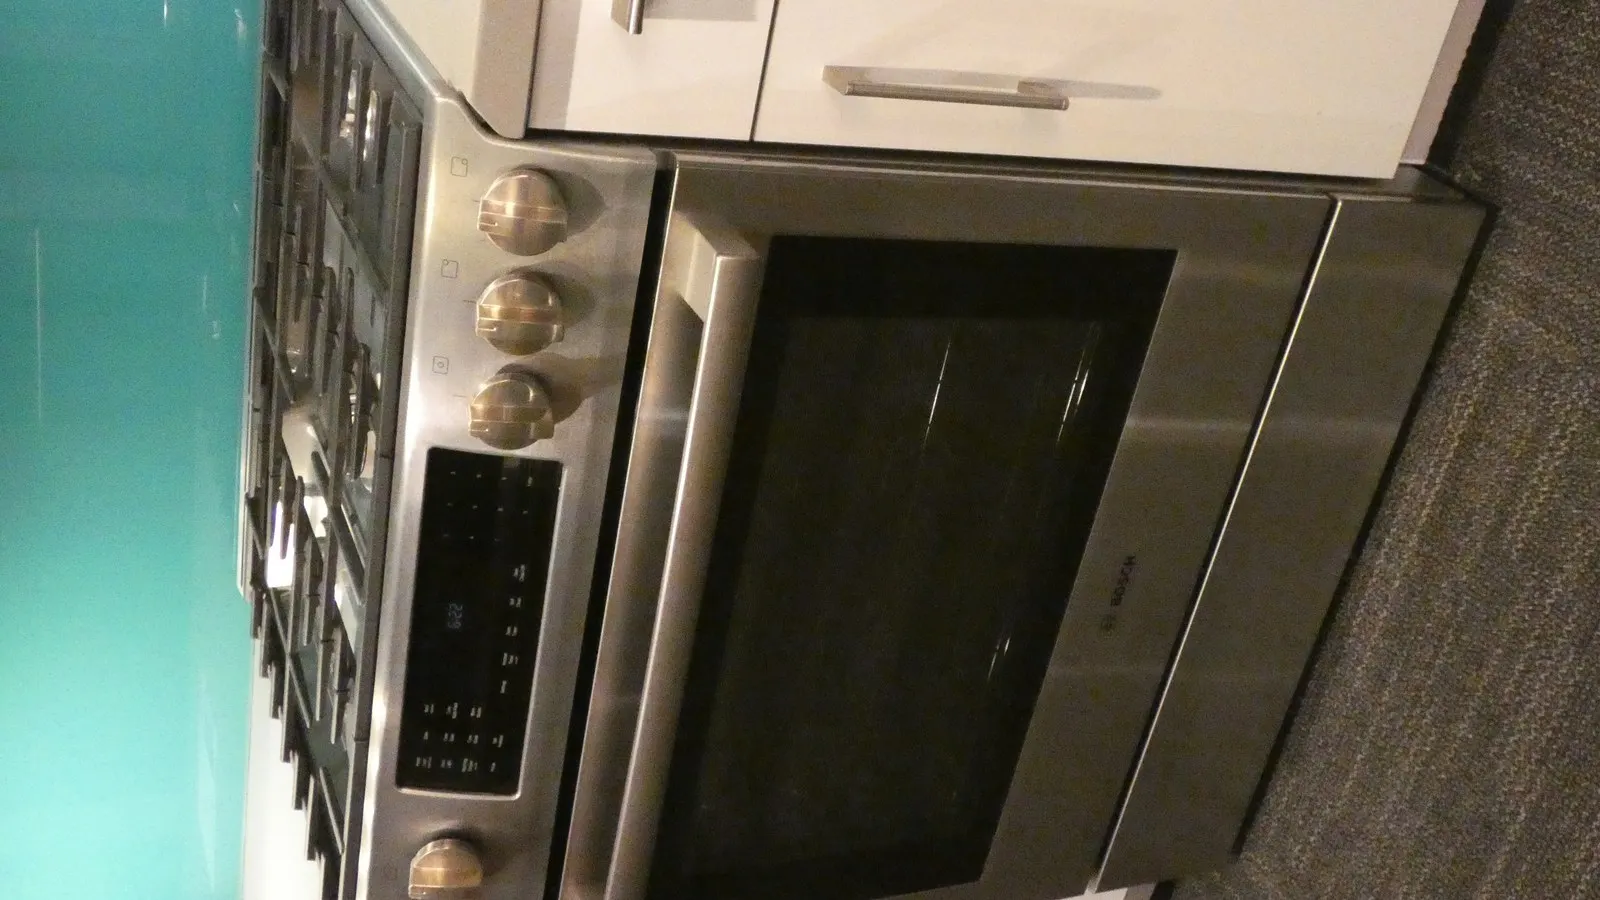
Disclosure: We may earn a commission if you purchase through links on this page, at no additional cost to you.
Quick answer
Choose a stove gap cover after identifying the gap and measuring both sides. A flexible silicone strip may fit a narrow, straight side seam if its flange bridges the opening without reaching a burner, control, vent, or hot surface. A telescoping metal guard can suit a narrower seam or unusual run length. Neither corrects a poorly leveled range.
Measure at the front, middle, and back, then compare the height of the range edge with the counter. If the opening surrounds a built-in cooktop, check the model manual first. GE says a slight cooktop-to-counter seam can be normal and does not recommend caulk because it can prevent removal for service. A removable retail strip and a permanent seal are not the same repair.
Identify the gap before shopping
“Stove gap” can mean a side seam beside a freestanding range, the space behind a slide-in range, or the perimeter around a built-in cooktop. These are different installation details. Check the appliance type before shopping; a generic strip may not fit an OEM trim opening.
GE says foam tape under a cooktop edge cushions and protects it, and warns against sealing the edge with caulk because the cooktop may need removal for service [1]. That applies to GE cooktops; consult your own model manual before adding anything around a built-in surface.
Design also changes with model year. GE notes that most of its slide-in ranges made before 2018 had an overhanging cooktop edge, while later models no longer used that design and may have a separate filler accessory [2]. This is model-specific, but it explains why a strip that sits over one counter edge can be wrong for another.
Measure the seam in three places
Let the range cool. Measure each side at the front, middle, and back because the seam may widen toward the wall. Record the smallest and largest width. A cover must stay seated across that range without being squeezed out at the narrow point or leaving a channel at the wide point. Use a ruler perpendicular to the appliance edge, rather than measuring diagonally across the counter. Photograph the widest and narrowest spots with the ruler in frame; this makes it easier to compare the listing diagram with the actual opening and to ask a seller a specific fit question.
Measure the usable length from the counter’s front edge to the backsplash or where the strip must stop. A 21-inch strip can be trimmed shorter only if its instructions allow; it cannot be stretched to cover a longer run. Leave room for raised trim, rounded corners, controls, and any section that needs access. If the product has a center stem, check its depth against the seam.
Finally, compare the counter and range heights with a straightedge. Note whether the range is level, higher, or lower and estimate the step. A flexible flange may bridge a small difference if its design allows it. A large step can make the strip lift or twist. Do not infer fit from “fits most”; look for a stated height range or a profile drawing. Measure both sides independently: cabinetry and countertops are not always symmetrical, particularly in older kitchens or after a replacement range has been installed. A product sold as a two-pack may be the same width on both sides, so one side can fit while the other does not.
Record the left and right gap widths at three points, usable length, height difference, and nearby burners, controls, vents, or trim. If measurements vary sharply, resolve the alignment issue first. A cover should bridge a suitable seam, not hold a tilted appliance in place.
Match the cover profile to the opening
Common forms include a T-shaped silicone strip with a stem that drops into the seam, a flat silicone bridge that rests over a shallow gap, a telescoping metal guard, and an OEM filler shaped for one range or installation. For a T-profile, compare two dimensions separately: the stem must enter the narrowest part of the gap, while the top flange must cover the widest part. A wide flange alone does not help if the stem is too thick to sit down; a thin stem is not enough if the flange cannot bridge the opening. Product photos viewed from above can hide this cross-section, so find a side-view drawing or ask the maker for the measurements.
| Form | Consider it when | Check before buying |
|---|---|---|
| T-profile silicone | A straight side seam with modest height difference | Stem and flange width, height fit, trim allowance |
| Flat silicone bridge | A shallow gap needing a removable cover | Whether it lies flat without reaching the cooktop |
| Telescoping metal | A narrow seam or unusual run length | Min/max length, support width, overlap, edge stability |
| OEM filler strip | The model manual or parts page specifies one | Exact model, cutout depth, brackets, instructions |
The table sorts product types; it does not mean every range accepts all of them. Maytag’s slide-in filler strip is intended for a counter cutout deeper than its recommended opening. Its instructions give three depths—1½, 2¼, and 2⅝ inches—and specify measuring the cutout against the range [3]. These dimensions belong to that accessory, not to universal silicone side covers.
If one side is too narrow for a stem and the other too wide for its flange, don’t assume one pair solves both. If neither side fits the listed profile, ask about an approved trim part or leave the seam accessible for cleaning.
Choose silicone or metal by the job
Silicone is flexible, quiet against the counter, and often sold in a fixed length that can be trimmed if permitted. It suits a regular side seam where you want a removable cover. Check the temperature statement and use instructions for the exact product; “heat resistant” does not mean flameproof or suitable near every burner. Color is a secondary decision, but it affects whether you notice residue: black conceals some discoloration while light colors make crumbs and grease easier to spot. Choose a finish you will actually lift and clean, rather than assuming a darker strip stays clean.
A metal guard can work for a narrow gap or an unusual front-to-back length. Telescoping designs adjust in length, but the joint can collect grease or sit unevenly when the counter and range are not level. Check the full assembled width, not just the advertised extension. Also check how it rests: some products bridge the counter and range, while others depend on a particular edge or ledge for support. A shiny finish does not automatically mean the piece is stainless steel; confirm material and cleaning directions, especially if you use abrasive cleaners.
In an r/inductioncooking thread, owners compared silicone and steel and valued parts that lift out for cleaning; the original poster was also dealing with a range higher than the counter. Those reports are not fit testing, but they point to real buying questions: height, cleanability, and whether the cover masks an installation issue. A YouTube install video shows one homeowner placing a stainless filler over a wavy counter edge [4]. Use a video to see one installation, not to assume its product fits your kitchen.
Check heat and service access
Trace the cover’s full path. It should not sit under a burner flame, touch a hot grate or element, cover controls, or block an opening the manual identifies as a vent or service access. Exact clearances depend on the range and the cover. A product’s temperature rating cannot make an unsuitable location safe. The cooking surface can project beyond the side wall on some designs, so look at the cover from above as well as at counter height. Open the oven and use the controls as usual to confirm the piece does not obstruct movement or touch a surface that becomes hot during normal operation. If a manual specifies a clearance or forbids accessories in a location, follow it over a marketplace description.
Do not caulk a seam based only on forum advice. GE specifically advises against caulk around its cooktop edge because sealing can make the cooktop difficult to remove for service [1]. A loose strip over a side gap is different from a permanent seal around a built-in unit. If you cannot tell whether the seam is part of the cooktop mounting or ventilation arrangement, check the manual or ask the manufacturer.
If the range is tilted or sits higher on one side, follow its installation instructions to address leveling before fitting a cover. The leveling feet and anti-tip bracket are safety parts. Don’t move a gas-connected range or adjust its bracket unless you know how to restore it; ask the installer or a qualified technician when needed.
Install and clean it without trapping mess
Work on a cool range. Lift off the strip, wipe the counter and appliance edges, and let them dry. Place the cover in the orientation shown in its instructions. Trim only when allowed, cutting a little at a time and checking the fit. Keep the ends clear of burners and controls. Take a quick photo before installation so you can see the uncovered seam and verify that the cover has not moved later. Avoid pushing the appliance back and forth to force the strip into place; a range connected to gas or hard-wired power should not be shifted casually just to fit an accessory.
Check that the flange lies flat, does not rock when pressed lightly, and does not lift at the back. Confirm the range still slides or closes as intended, and that no control or vent is covered. If the strip shifts during normal use or becomes too warm, remove it and reassess. Don’t glue down a poor fit.
Lift the cover when food, oil, or water spills, and clean it according to the label. Use a dishwasher only if the product instructions explicitly permit it. Clean the counter edge underneath as well; otherwise a crumb barrier can become a hidden grease shelf. Remove metal guards periodically if their joints collect residue.
Know when a gap cover is the wrong fix
Skip a generic strip if the cooktop overlaps the counter rather than leaving a side channel. A cover placed on top may interfere with the cooktop edge or cookware. A built-in cooktop’s perimeter seam may also need its original gasket. GE says a small gap can be normal for its models and describes foam tape beneath the edge [1]. If the surface has lifted or the gap changed suddenly, ask the manufacturer or installer rather than adding a second seal.
A deep opening behind a slide-in range may need its model’s filler. Maytag’s instructions describe a bracketed strip for one specific cutout condition [3]; a flexible side strip will not fill the same geometry. A large or widening gap, visible wiring or gas hardware, a loose range, or a seam near an air path deserves an installation check.
One r/DIY post describes an odor after a homeowner used silicone to close a cooktop gap; commenters questioned whether the opening served ventilation. This anecdote does not show that all removable covers cause a problem. It does show why caulk, appliance foam, and retail strips should not be treated as interchangeable. The appliance instructions govern the actual installation.
Product example and final fit check
One option to compare is Linda’s Essentials silicone stove gap covers, listed as two 21-inch black strips. The Amazon listing shows a 4.4 out of 5 rating from 22,444 ratings and a listed price of $9.99. These are marketplace figures and may change. Treat this as a candidate only if its current flange, stem, length, temperature, and cleaning instructions match your measurements. Reviews can help reveal recurring complaints about odor, trimming, or movement, but they cannot confirm your particular counter profile. Look for recent reviews with a similar range style and gap, and give more weight to clear fit details than to a star average.
Open the Linda’s Essentials stove gap cover listing on Amazon
If the cover lies flat on a cool counter, lifts out easily, and stays clear of heat and service openings, it can simplify cleanup. If it fits only by stretching, caulking, or hiding a tilted range, check the installation instead.
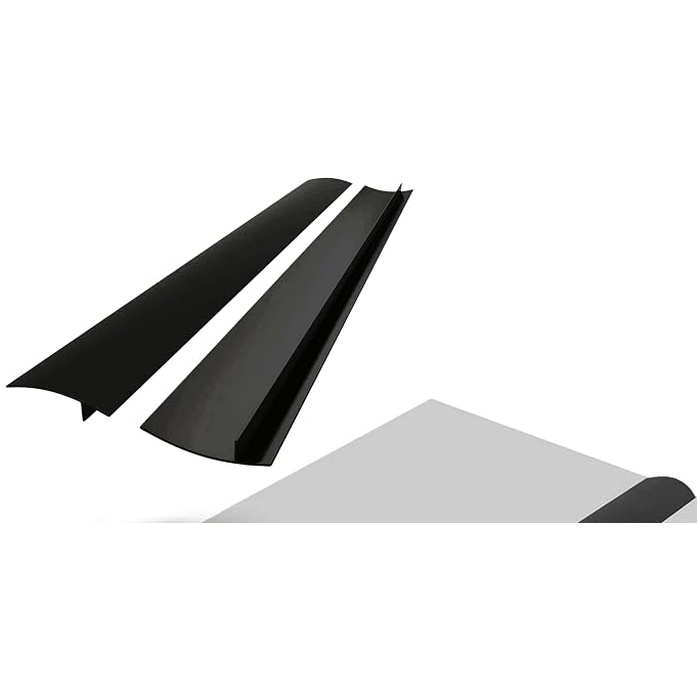
Linda’s Essentials silicone stove gap covers, 2 pack
Two 21-inch flexible strips meant to bridge a straight side seam between a range and the counter. Fit depends on your stem depth, flange width, and the height step between the two surfaces.
- Role: Amazon consumer option
- 2 strips, 21 inches
- Trim to length if allowed
- Check stem and flange fit
- MOQ: Check current listing
Sources
-
GE Appliances Cooktop Gap Between Cooktop and Counter
-
GE Appliances Slide-In Range Overhang or Overlap Source
-
Maytag Filler Strip Installation Instructions for Slide-In Ranges Source
-
Mike Klimek, YouTube Appliance Gap Filler Installation Stove Gap Covers Source
Hook this up to your favourite commenting platform — Giscus, Disqus, or your own.
Continue reading

How to Choose a Zipper Repair Kit That Fits Your Zipper
A number on the slider is only part of the match. Identify the chain type, confirm the size, then check direction, slider function and end parts before buying a kit.

How to Choose Dishwasher Rack Tine Caps for a Rusty Rack
Tine caps only work when the rust is limited to a few exposed tips and the wire is still firm. Check the opening, length and shape of the tine before ordering a pack.

How to Choose a Bathtub Hair Catcher for a Pop Up Stopper
A catcher that works with a raised pop-up stopper sits over the drain, not inside it. Identify the mechanism, then measure the flat area and cap height before ordering.