How to Clean Under a Garbage Disposal Splash Guard Safely
Lift each flap, scrub both sides with dish soap, and keep your hand out of the opening. A tablet treats a different problem.
 Lena Schmidt
Disclosure: We may earn a commission if you purchase through links on this page, at no additional cost to you.
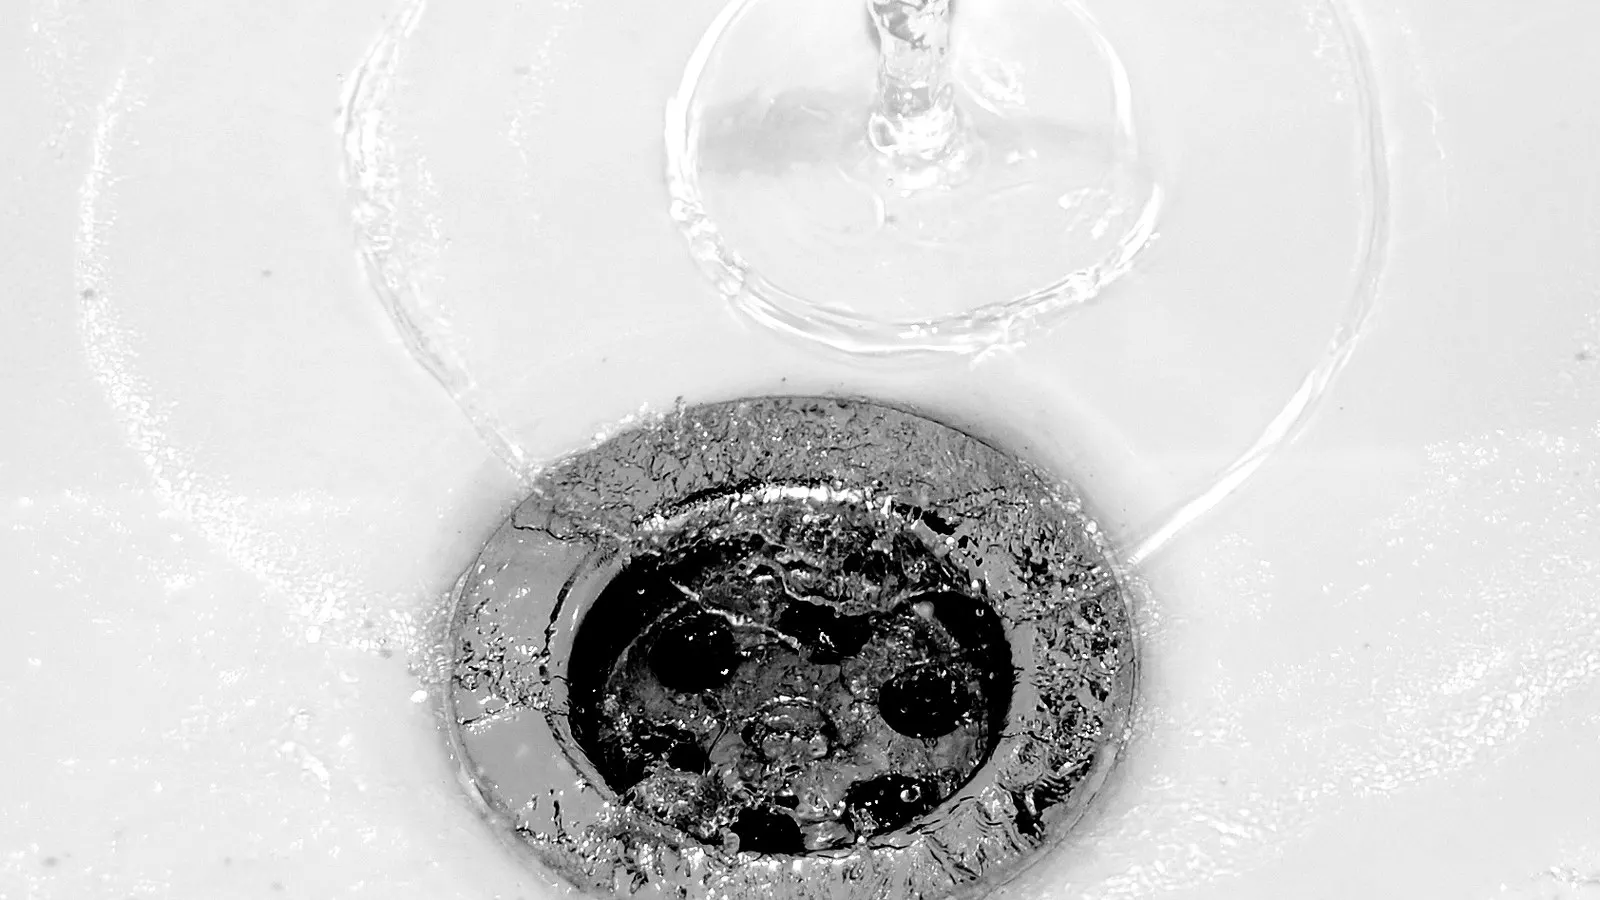
If the kitchen sink smells sour even after you have run the disposal, check the underside of the black rubber splash guard before buying another deodorizer. Food residue can cling to the guard’s flaps and the rim just below them. The awkward part is that some guards are designed to lift out for cleaning, while others should stay installed. The safest approach is to cut power, clean the guard in place first, and remove it only when your disposal’s manual identifies it as removable.
You do not need to put your hand into the disposal. A small brush, dish soap, and a flashlight are enough for most routine buildup. If there is a jam, a leak, a torn guard, or a smell that remains after cleaning, stop and diagnose that separate problem rather than reaching farther into the unit.
Why the splash guard gets black and slimy
The splash guard, also called a baffle or splash baffle, is the flexible piece at the drain opening. Its flaps help keep food and water from splashing back into the sink. When food scraps and grease touch the underside, the folds and the upper lip of the grinding chamber can hold damp residue that ordinary sink rinsing misses. Manufacturers identify the baffle and chamber as common places for food residue and odor to collect. [1][2]
That does not mean every dark mark is mold, or that the disposal itself has failed. It may simply be old food film mixed with grease and water. A Reddit CleaningTips thread about cleaning the guard captures a familiar frustration: search results often show how to replace the rubber piece, while people asking how to clean it are directed to a stiff bottle brush. Video tutorials also focus on scrubbing the underside, which is why the narrow access problem—not the disposal’s grinding action—is the useful starting point. [3]
There are two jobs that are easy to confuse. Scrubbing the guard removes visible film from the rubber flaps and rim. A disposal-cleaner tablet is designed to foam through the chamber and drain path. It may help with residue in those areas, but it cannot reliably scrub the underside of an installed flap. If the guard is visibly dirty, begin with physical cleaning.
Before you start: identify your guard and isolate power
Look at the guard from above without reaching through it. Some splash guards lift out; others are fixed or held by a retaining ring. If you can identify the disposal’s make and model, check its manual or the manufacturer’s support page before trying to remove anything. Moen, for example, says to cut power before pulling out a removable guard and points owners to model-specific instructions; KitchenAid says to remove the guard only if the model permits it. [1][2]
Turn the disposal off at the wall switch, then unplug it if it has a plug under the sink. If it is hardwired, switch off its circuit breaker. The switch alone is not a reliable substitute for isolating power when your hands or tools are near the opening. Keep power off while you clean, and do not restore it until the guard is seated and the work area is clear. Moen explicitly warns never to put your hands in the disposal and says to use tools such as tongs only for removing an object. [1]
Gather a flashlight, dish soap, warm water, a cloth or paper towels, and a small brush. A long-handled disposal brush can be more comfortable if the opening is deep; a narrow bottle brush or old toothbrush works if it reaches the folds. Do not use a knife, screwdriver, skewer, or other sharp object to scrape the rubber. Avoid leaning your face over the opening: loosened residue can flick upward.
Clean the splash guard without removing it
For most households, cleaning in place is the lowest-risk first pass. Keep the power off throughout these steps.
-
Shine a light on the guard. Look for food caught in the folds, a sticky film around the center opening, or residue on the metal or plastic rim beneath the flaps. This tells you where to focus instead of scrubbing blindly.
-
Wet the brush, not the whole sink cabinet. Add a little dish soap to warm water and dampen the brush. The bristles should be wet enough to carry soap but not dripping into the cabinet. Follow your appliance manual if it specifies a different cleaner.
-
Lift one flap at a time. With the brush, gently raise each rubber flap and clean its underside and the accessible edge below it. Work around the full circle. Do not wedge the brush so hard that it stretches or tears the rubber.
-
Brush both sides. Food film may collect on the top-facing side as well as the underside. Use short strokes and rinse the brush often so you are lifting residue away rather than smearing it around.
-
Wipe the visible rim. Use a damp cloth around the upper lip that you can reach without pushing your hand into the grinding chamber. Never reach into the disposal, even when the power is off; the chamber can contain sharp debris and the impellers can move unexpectedly if power is restored.
-
Rinse and inspect. Wipe or rinse away loosened soap and debris as your model’s instructions allow. Check that the guard is not split, loose, or permanently deformed. Dry the surrounding sink area and remove the brush and cloth.
KitchenAid’s current guidance recommends lifting the flaps and scrubbing both sides with dish soap and a small brush when the guard is not removable. [2] Moen’s instructions for a removable model instead describe taking the guard out after power is cut, washing the underside, rinsing it, and reinstalling it. [1] The difference is important: the method depends on the guard design, not on how much force you can apply.
If your manual says the guard is removable
Only remove the guard if the manufacturer identifies your model’s piece as removable and provides an appropriate method. First isolate power as above. Follow the manual’s removal directions; some guards lift out by hand, while other designs may require a particular orientation or a separate stopper. Do not pry beneath a fixed guard or pull hard against a retaining ring. If it resists, stop and check the manual or contact the manufacturer.
Once out, wash it over the sink with warm water and dish soap, paying attention to the underside and grooves. Moen says its removable guard is dishwasher safe, but that is not a universal rule for every brand or material; use the dishwasher only if your own manual confirms it. [1] Rinse thoroughly, inspect for tears or stiffness, then reinstall it exactly as instructed. Confirm that it sits flat and does not wobble before restoring power.
If the rubber is cracked, warped, loose, or stays greasy after washing, cleaning may no longer be the answer. Replacement guards are not one-size-fits-all in practice: the diameter, mounting style, and disposal model matter. Match the part number to the manufacturer’s compatibility information instead of buying based on color or appearance alone.
Which brush is useful—and when a tablet helps
A useful brush has enough reach to get under the flaps, a handle you can control from above the drain, and bristles that reach the creases without forcing the rubber out of shape. A narrow bottle brush or old toothbrush is adequate for occasional light buildup. A purpose-made disposal brush is easier to hold and can reach deeper inside the opening, but its bristle stiffness matters: one popular model, Mr. Scrappy’s 11-inch brush, is specifically described as having stiff bristles and not being recommended for soft surfaces. Use it on suitable hard surfaces and the disposal channel, not as a forceful scraper against flexible rubber.
The Mr. Scrappy 11-inch garbage disposal brush is a practical option if you want a dedicated handle rather than repurposing a bottle brush. At the time of checking, its Amazon listing showed 4.6 out of 5 stars from 4,187 reviews and “2K+ bought in past month.” Those figures are a snapshot and can change; they are signals of shopper activity, not proof that the brush fits every cleaning style. The manufacturer’s product description calls it 11 inches long and intended to reach into disposer channels.
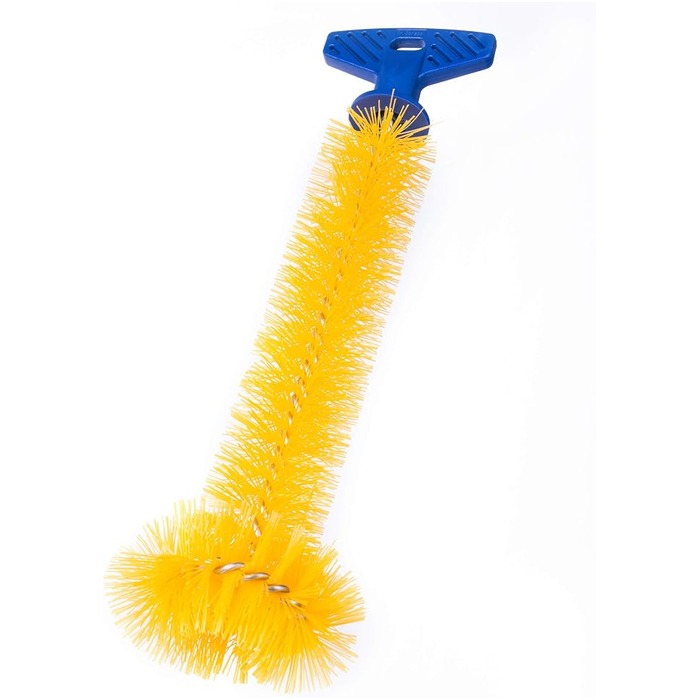
Mr. Scrappy 11-inch garbage disposal brush
An 11-inch brush with a sturdy grip, intended to reach under the flaps and into disposer channels from above the drain. Stiff bristles lift food film; the length means your hand stays out of the opening.
- Role: Amazon consumer option
- 11 inches long
- Stiff bristles
- Keeps your hand above the drain
- MOQ: Check current listing
After you have manually cleaned the guard, a disposal cleaner tablet can be used for the different job of treating residue inside the chamber and drain path. KitchenAid recommends its Affresh disposer cleaner for its own disposal-cleaning routine, and the product instructions call for a tablet with running water and a short disposal cycle. [2][4] Follow the directions for your own unit and the cleaner. Never put lye or chemical drain opener in the disposal; Moen warns these can corrode metal parts. [5]
The Affresh Garbage Disposal Cleaner, 3-tablet pack is an optional repeat-use product for chamber maintenance, not a replacement for brushing dirty flaps. Its Amazon listing showed 4.6 stars from 49,050 reviews when checked. If the guard is your only source of smell, a tablet may leave that visible film in place. Think of the two products as different tools: brush for the surfaces you can see and reach; cleaner tablet for manufacturer-approved chamber care.
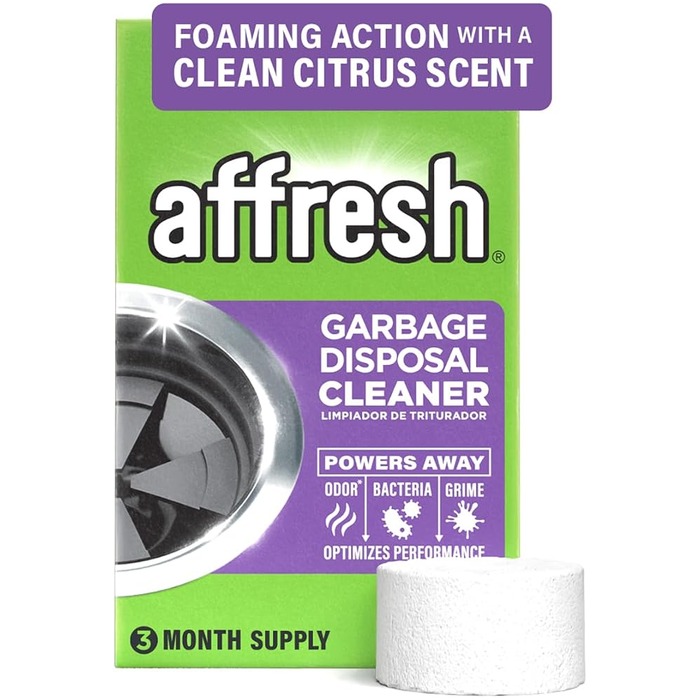
Affresh garbage disposal cleaner, 3 tablets
A repeat-use tablet for chamber maintenance, not a replacement for brushing the flaps. If the visible film under the guard is your only source of smell, a tablet can leave that film in place. Treat it as a different tool for a different surface.
- Role: Amazon consumer option
- Three tablets
- For chamber maintenance
- Not a substitute for brushing
- MOQ: Check current listing
How often should you clean it?
There is no single interval that fits every household. The amount of food waste, grease, water flow, and how often the disposal runs all affect buildup. KitchenAid recommends inspecting the splash guard monthly and its batch-feed guidance says to clean the guard and stopper weekly; the exact advice varies by model and use. [2][6] For a practical routine, inspect the flaps when you notice an odor or visible film, then clean sooner if food sticks there frequently. If your manual gives a maintenance schedule, follow it.
The habit that prevents new residue is simple: run a strong stream of cold water before, during, and for at least 15 seconds after grinding, as KitchenAid recommends. Avoid pouring cooking grease or oil into the disposal, because grease can coat surfaces and trap scraps. [2] Rinsing the sink alone will not remove old buildup from the underside of a flap, so still check the guard directly when a smell develops.
If the smell remains after cleaning
If the guard looks clean but odor returns quickly, the cause may be elsewhere. Check whether the disposal drains normally; Moen notes that a clog or slow drain can produce a noticeable odor. [1] KitchenAid lists residue in the grinding chamber, grease, and standing water in the drain as other possible sources. [2] You can run a manufacturer-approved cleaning cycle after scrubbing the guard, but do not combine cleaners or improvise with caustic drain products.
Stop DIY cleaning and contact a qualified plumber or appliance service if the sink drains slowly, water leaks under the cabinet, the disposal hums without grinding, the guard is damaged and you cannot identify a compatible replacement, or the odor resembles sewage and persists. Those symptoms can point to a plumbing or appliance problem that a brush cannot fix. Do not disassemble or unmount the disposal just to get a better angle on the guard unless you are trained and the manufacturer’s instructions call for it.
The short version
For black or slimy residue under a garbage disposal splash guard, start with the power isolated, then lift each flap and scrub both sides gently with dish soap and a small brush. Clean the reachable rim without putting your hand inside the disposer. Remove the guard only if your exact model’s manual says it is removable. Use a cleaner tablet afterward only for its intended chamber-cleaning role, and replace a torn or deformed guard with a model-compatible part. This sequence targets the actual dirty surface while keeping the work simple and controlled.
Sources
-
Moen Solutions — How do I Eliminate Odors in a Garbage Disposal Source
-
KitchenAid Product Help — Disposer has an Odor Source
-
YouTube — Smelly Garbage Disposal? Make Sure You Clean The Real Source of the Smell Source
-
Affresh — Garbage Disposal Cleaner Source
-
Moen Solutions — Can I Use Drain Cleaners with the Garbage Disposal Source
-
KitchenAid Product Help — Operating a Batch-Feed Waste Disposer Source
Hook this up to your favourite commenting platform — Giscus, Disqus, or your own.
Continue reading
Do Washing Machine Anti-Vibration Pads Stop Walking?
A pad that has shifted out from under the washer is a symptom, not the diagnosis. Check the machine is stable and the foot fits the cup before buying a grippier set.
When a Silicone Faucet Mat Pools Water, Check the Fit and Drain Path
A mat that holds a puddle is failing at one of three points: the counter does not drain toward the bowl, the mat is set the wrong way, or its outlet is blocked.
How to Keep a Cutting Board From Sliding on a Countertop
Most boards move because of a film of water or oil, a warped corner, or an overhang, not because the board is light. Find the cause, then pick a damp cloth or a grip pad.