Faucet Aerator Keeps Clogging? 5 Checks Before Replacing It
A repeatable sequence for finding out why a cleaned aerator blocks again, and when replacement is the right answer.
 Lena Schmidt
Disclosure: We may earn a commission if you purchase through links on this page, at no additional cost to you.
Faucet Aerator Keeps Clogging 5 Checks Before Replacing It
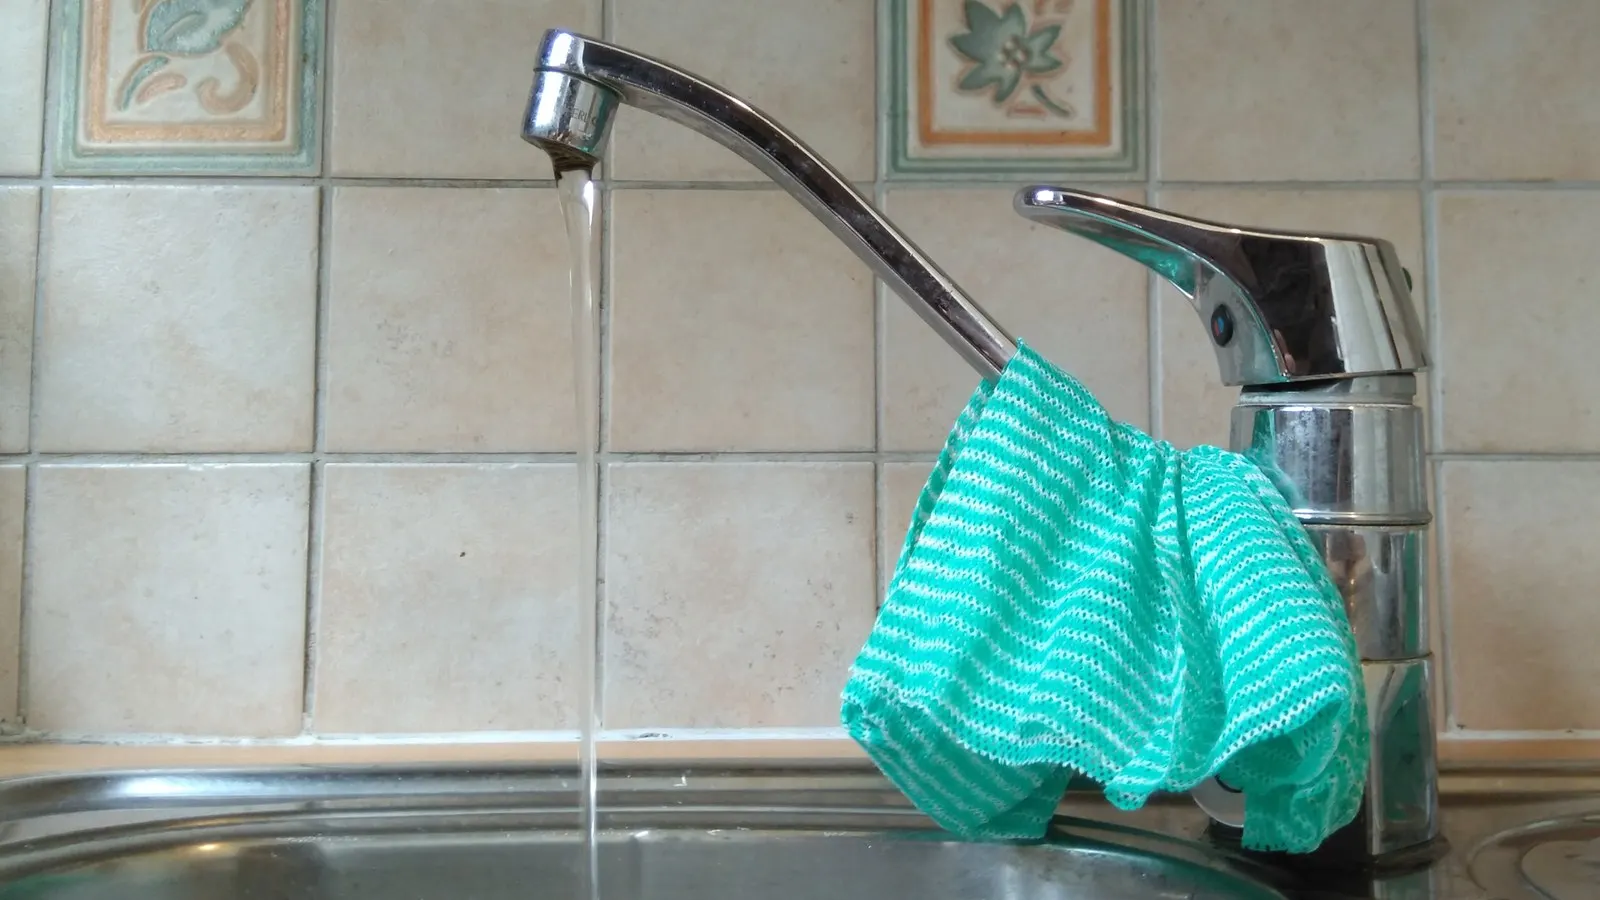
The faucet runs properly after cleaning, then slows to a crooked trickle again. Buying another aerator may restore the stream, but it will not stop particles arriving from the plumbing. Equally, a clean-looking outlet can still contain a blocked inlet screen, misplaced seal or damaged flow-control component.
Start by comparing the faucet with and without its removable aerator, following the model’s service instructions. Then inspect the material caught inside, clean with an approved method, flush the outlet as directed and reassemble it correctly. If fresh debris returns, investigate where it comes from. Replace the aerator when it is damaged or remains restrictive after correct servicing; do not use replacement as the default response to recurring sediment.
This guide covers removable sink-faucet aerators. Pull-down spray heads, concealed proprietary outlets and in-line filters need their own service procedures. The five checks below help you decide which part of the problem you can reasonably address at the sink.
1 Confirm that the restriction is actually at the outlet
Record what happens before removing anything. Is the stream weak on hot, cold or both? Does another nearby faucet behave normally? Did the trouble begin after plumbing repairs, a shutoff or a water-main incident? Those observations make a repeat blockage easier to trace than a photograph of a dirty screen alone.
With the handle off, remove the aerator only if its service instructions permit it. Cover the drain during removal and keep the components in a small container. For a concealed insert, use its specified key. If the tool slips or the faucet body moves, stop applying force. Use the faucet maker’s parts diagram to identify the outlet before choosing a tool or replacement.
Clear the basin, open the drain and briefly run the faucet gently without the insert, keeping clear of the stream. Water may splash much more than usual. Compare the result with the original symptom under similar handle settings. A substantial improvement points toward the aerator assembly as a restriction. Continued weak flow means further outlet cleaning alone is unlikely to resolve the whole problem.
This is a practical comparison, not a pressure measurement. Removing a flow-regulating part changes the discharge, so a stronger bare-spout stream does not prove that every upstream component is healthy. Moen’s low-flow troubleshooting guidance distinguishes outlet, cartridge, diverter and spray-wand problems by faucet design. Follow the branch for your model rather than assuming every weak faucet needs the same repair.
2 Inspect what came out before washing away the clues
Photograph the inlet side and empty loose material onto a light-colored surface. Note whether it is attached crust, loose grit, flexible fragments or uniformly shaped beads. Appearance can guide the next question, but it cannot establish composition or drinking-water safety.
Attached pale crust suggests a different cleaning task from loose particles that rinse away immediately. A screen may contain both. If the housing looks clean after a rinse but its inlet is still covered, inspect the complete serviceable assembly. Concentrating only on the visible outlet face can leave a restriction behind.
For recurring black particles, avoid the automatic conclusion that they are mold. Milwaukee Water Works distinguishes a problem at one faucet from particles appearing throughout the cold-water supply or only in hot water. Its black-particle guidance identifies different possible plumbing and supply sources for these patterns and recommends professional help when a local problem persists.
The Los Angeles Department of Water and Power also lists several possible sources in its water-quality FAQ: washers, flexible hoses, filter material and pipe-related particles. It separately describes uniform beads from a failing softener-retention screen. These are possibilities to discuss with the relevant service provider, not diagnoses to make from color alone.
Keep the observations specific: “black flexible pieces, kitchen cold water only, returned three days after cleaning” is useful. “Bad aerator again” leaves the next person to start from scratch. Photograph any visible damaged seal before discarding it, and retain the faucet model and replacement-part details with your notes.
Use separate containers if you inspect more than one faucet. Mixing their debris removes the location evidence you were trying to collect. Label each photograph with the fixture and date. If you collect a water sample for a utility or laboratory, ask for its sampling instructions first; an improvised glass of water is not automatically a suitable testing sample. Keep maintenance observations separate from any formal sampling process.
3 Clean the complete serviceable assembly with a compatible method
Rinse away loose material first. Photograph the order and orientation of removable components before separating them. Some inserts are sealed assemblies rather than stacks intended for homeowner disassembly. Do not pry apart a cartridge simply because an online demonstration shows a different aerator coming apart easily.
Michigan’s aerator-cleaning instructions emphasize retaining component order, cleaning accessible pieces and rinsing thoroughly, including through the screen in both directions. Use a dedicated soft brush where the part’s instructions allow it. Keep it separate from toothbrushes used for personal care and from brushes used on drains or toilets.
Do not turn “soak it in vinegar” into a universal instruction. Delta’s mineral-deposit advice permits vinegar soaking for the aerator covered by that guidance. Neoperl’s aerator-care guidance, however, recommends a soft brush and citric acid while advising against acetic-acid cleaners. Vinegar contains acetic acid. The difference matters when the faucet and insert come from different manufacturers.
Use the cleaner, dilution and contact time approved for the exact part and surrounding finish. If the instructions conflict or the insert cannot be identified, begin with water and a soft brush, then ask the manufacturer which descaling method is permitted. Avoid extending a soak or increasing concentration simply because the first attempt did not work.
Also clean the accessible mounting threads and sealing seat as instructed. Rinse off cleaning residues thoroughly. Never mix cleaning agents. Do not force a needle through calibrated openings, remove flow-control pieces permanently or scrape a plastic face with metal tools. The aim is to restore the intended waterways and seals without changing their geometry.
4 Flush before refitting and check the assembly
A clean insert can collect debris again if you reinstall it before clearing material released during service. Delta’s flushing instructions specifically address debris after the water has been turned off for repairs. Its kitchen and lavatory procedure removes the aerator and sealing gasket, then flushes the faucet before refitting them. That is a manufacturer procedure; use your own model’s sequence and duration.
Keep the outlet directed into the basin and control splashing. Start with cold water and avoid contact with hot discharge. Follow any utility instructions after public-system work; a faucet-service flush and a community water-quality flushing procedure have different purposes. If a utility has issued an advisory, its instructions take priority over a general cleaning routine.
Before reinstalling, compare the parts with your photograph or diagram. Look for a seal left inside the spout, a doubled gasket, an inverted insert or a screen that shifted during assembly. These are assembly checks, not a reason to keep tightening. Start threaded parts gently by hand where the design permits; stop if they bind immediately or sit crooked.
Run the reassembled faucet and inspect both the stream and the joint. Water escaping around the housing suggests a sealing or fit problem. A distorted stream with no visible new debris calls for checking orientation and damage. Take a short video after successful servicing. It gives you a baseline for deciding whether performance deteriorated later or never recovered fully.
Do not dismantle cartridges, disconnect supply lines or work on shutoff valves as an extension of this simple outlet procedure unless you have the model instructions and the skills to complete that separate repair safely.
5 Use the recurrence pattern to decide what happens next
If the aerator stays clear and the stream remains normal, retain the key and add inspection to your maintenance routine. If it is weak immediately after refitting, recheck assembly and compare the bare-spout result before buying anything. If it initially works and then contains fresh material, record the elapsed time and repeat the hot/cold and fixture comparison.
There is no single interval that proves a particular failure. A slow change over months and fresh grit after a repair are different histories, but timing alone cannot identify the source. Avoid buying a whole-house filter, softener or electronic descaler on the strength of one blocked insert. First establish what is recurring and whether the issue is local or shared.
Consider two hypothetical outcomes. In the first, a faucet is weak immediately after cleaning, the insert contains no fresh debris and its gasket is folded. Correcting the assembly is the useful next step. In the second, the faucet runs normally after service but a week later the inlet contains new loose fragments. Repeating the same soak may restore flow temporarily, yet it leaves the recurring supply of fragments unexplained. These examples are decision aids, not a diagnosis of your plumbing.
For the second pattern, keep a short record: service date, material observed, whether flow recovered, when it changed again and which other fixtures were affected. Include recent cartridge, supply-hose, filter or water-heater work. Change one service variable at a time when practical. Replacing several parts together may restore function, but makes it harder to tell which action mattered if the fault returns.
Once the fault is resolved, choose an inspection interval using the faucet instructions and local water advice. Michigan recommends cleaning drinking-water faucet aerators at least every six months, with more frequent cleaning during nearby public-system or pipe repairs. That is maintenance guidance for its stated context, not a guarantee that any aerator will stay clear for six months. Bring the next inspection forward if the stream changes; repeated fresh debris still deserves investigation.
For a problem confined to one faucet, share the model, photographs and recurrence notes with its manufacturer or a plumber. If only hot water carries particles, include that distinction when arranging service. If cold-water particles appear at several fixtures, contact the water utility or building manager and ask about recent work and recommended investigation. In a rental, report the recurring pattern in writing rather than repeatedly replacing parts without addressing the source.
An aerator is not a drinking-water treatment device. EPA’s lead-in-drinking-water guidance explains that sediment and lead particles can collect in aerators and recommends cleaning them. Clear water and a restored stream do not establish that lead or other contaminants are absent. For safety concerns, follow utility advice and appropriate testing; do not use particle color as a water-quality test.
When replacement is justified
Replace an insert with a cracked body, damaged threads, broken removal notches, a distorted screen or a seal that cannot be serviced separately. Replacement is also reasonable when correct cleaning and assembly fail to restore the intended stream while the outlet comparison points to the assembly. A second identical insert that rapidly collects the same debris is evidence to investigate the source.
Match the faucet’s service part number where possible. Otherwise confirm thread, dimensions, sealing arrangement, flow rating and stream type with the manufacturer. “Fits the key” is insufficient. Keep the original flow specification unless the faucet maker approves an alternative; a higher-flow insert is not a substitute for correcting a blockage.
Order a spare only after confirming the first replacement fits and works. Keep its package label, installation key and faucet model together. For a recurring maintenance task, that small record saves more time than a drawer of mixed “universal” inserts. If the old part is still usable, keep it labeled until the repair has been verified.
A cleaning brush for accessible fixture surfaces
The OXO Good Grips Deep Clean Brush Set includes a small brush for fixtures and tight spaces, plus a larger brush. OXO specifies nylon bristles. Its useful role here is cleaning accessible fixture surfaces and crevices when the faucet’s care instructions allow brushing. It does not remove a concealed aerator, dissolve mineral scale or prevent particles arriving from upstream plumbing.
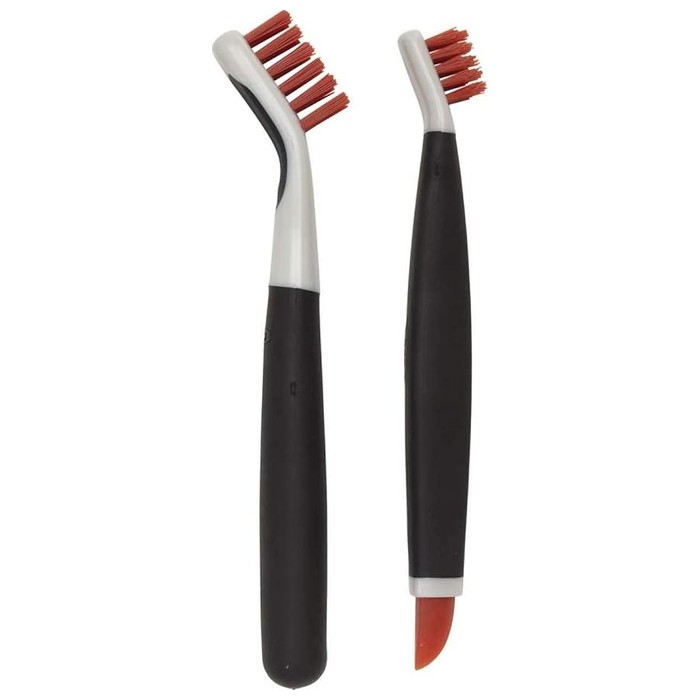
OXO Good Grips deep clean brush set
A small and a large nylon brush for accessible fixture surfaces and crevices, where the faucet's care instructions allow brushing. It does not remove a concealed aerator, dissolve mineral scale, or stop particles arriving from upstream plumbing.
- Role: Amazon consumer option
- Small and large detail brushes
- For accessible surfaces only
- Nylon bristles
- MOQ: Check current listing
Do not confuse a comfortable soft handle with soft bristles. This is a scrubbing brush, so it should not replace the dedicated soft toothbrush recommended earlier for delicate serviceable parts. Avoid using it on fine screens, calibrated openings, seals or plastic flow-control components unless their manufacturer specifically permits it. Check finish compatibility on an inconspicuous area before brushing the surrounding fixture, and avoid excessive pressure.
Keep the brush dedicated to this task. A brush used on drains or toilets should not then be used on a drinking-water outlet. Rinse it after use and store it where it can dry. If your existing soft brush already handles the permitted cleaning, there is no need to buy a larger set.
When fresh particles keep returning, the next useful step is locating their source. Another brush or replacement insert cannot resolve an upstream component that continues shedding debris.
Hook this up to your favourite commenting platform — Giscus, Disqus, or your own.
Continue reading
Do Washing Machine Anti-Vibration Pads Stop Walking?
A pad that has shifted out from under the washer is a symptom, not the diagnosis. Check the machine is stable and the foot fits the cup before buying a grippier set.

When a Silicone Faucet Mat Pools Water, Check the Fit and Drain Path
A mat that holds a puddle is failing at one of three points: the counter does not drain toward the bowl, the mat is set the wrong way, or its outlet is blocked.

How to Keep a Cutting Board From Sliding on a Countertop
Most boards move because of a film of water or oil, a warped corner, or an overhang, not because the board is light. Find the cause, then pick a damp cloth or a grip pad.