Faucet Aerator Leaking After Cleaning? 6 Checks Before Buying Parts
Work from the leak location to the connection and then to the seal, and buy only the part you can actually identify.
 Lena Schmidt
Disclosure: We may earn a commission if you purchase through links on this page, at no additional cost to you.
Faucet Aerator Leaking After Cleaning 6 Checks Before Buying Parts
If water escapes around the aerator as soon as you turn the faucet on, turn it off and inspect the assembly before tightening it again. A washer may have stayed inside the spout, shifted during reassembly or been replaced with a seal that does not fit. A crooked housing or incompatible replacement can produce a similar symptom.
Work from the leak location to the connection, then to the seal. Check for a retained old washer, damaged parts and debris on the sealing surface. Reassemble using the instructions for your exact faucet or aerator and test again. Buy a washer when the original assembly is serviceable and the replacement seal is positively matched; replace the complete aerator when its housing, insert or integrated seal is damaged or incompatible.
This guide covers leakage around a sink-faucet outlet after aerator servicing. A persistent drip with the handle off, water around the handle, or moisture inside the cabinet needs a wider diagnosis. The location of the water tells you where to begin; it does not identify the failed part by itself.
1 Find where the water first appears
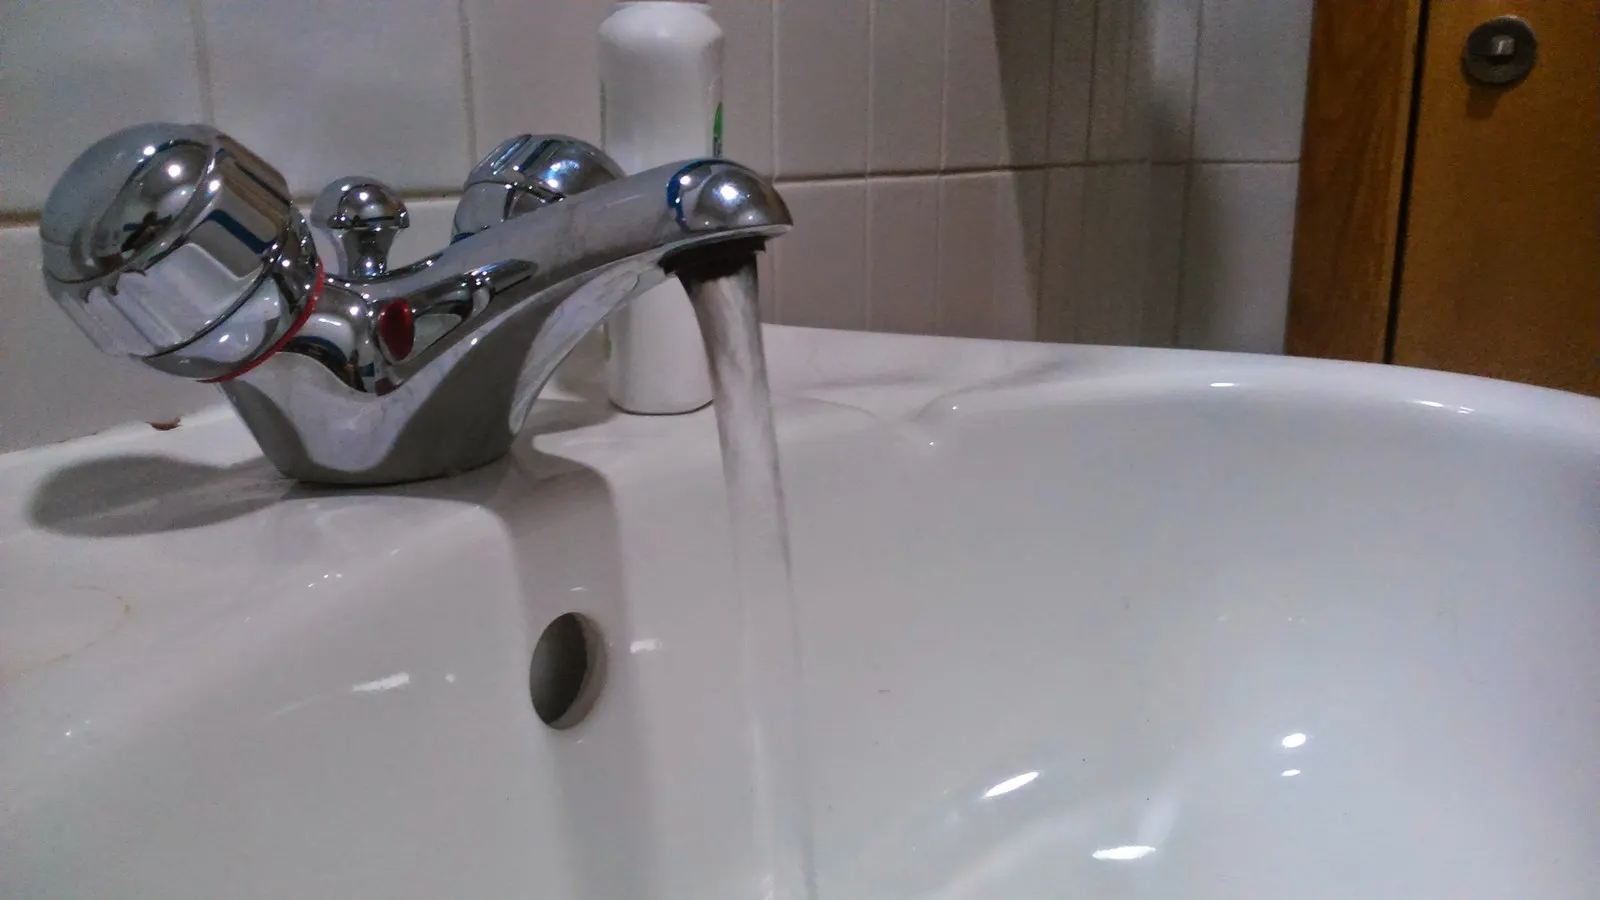
Dry the spout, aerator joint and sink deck. With the basin clear, run a small stream and watch where fresh moisture first appears. A bead forming at the joint is different from a sideways jet leaving the screen. Water can travel along the underside of a spout, making the wettest location a poor guide to its origin.
Note whether the leak occurs only while water is running or continues after the handle is off. Kohler’s end-of-spout troubleshooting guidance distinguishes temporary drainage from a continuous leak associated with the valve or cartridge. Do not expect an outlet washer to repair a shutoff mechanism that keeps passing water.
Check the handle area separately. Moen’s base-leak guidance explains that a handle leak can collect on the base plate and suggests a paper-towel check around the handle. Use the procedure appropriate to your model before deciding that the aerator caused every newly noticed wet patch.
If water is entering the cabinet or escaping from the faucet body, stop normal use and arrange further diagnosis. Delta’s response for one specific bathroom faucet model confirms that an incorrectly sealing aerator can allow water inside the spout. That possibility makes checking the seal worthwhile, but does not prove that all cabinet leaks originate there.
2 Account for every washer before reassembling
Turn the handle off, cover the drain during removal and keep the parts in a shallow container. Photograph the assembly before separating components. Look upward into the spout with a light: an old washer can remain against the outlet while the housing comes away, leaving the assembly in your hand looking incomplete.
Neoperl explicitly warns about a washer remaining in the faucet in its replacement instructions. Remove a retained washer as directed before installing the correctly assembled replacement. Use care around the sealing surface; gouging it while extracting a small rubber ring can create another problem.
Do not add a second washer simply because the new one looks thin. An extra seal changes the assembly’s height and the amount of thread engagement. If the housing barely starts after adding another washer, that is a reason to check the parts and instructions, rather than force it farther onto the spout.
Some service kits contain alternative washers for different housing arrangements. Multiple pieces in a package do not necessarily belong in the same installed assembly. Identify which configuration the instructions show. Keep unused alternatives labeled rather than placing them in the housing as spare layers.
For a concealed insert, the sealing arrangement may be built into the part. Do not replace an integrated O-ring with a flat washer just because both are rubber. Photograph its groove and original position, then check whether the manufacturer supplies the seal separately or specifies a complete service insert. Avoid pulling apart components that are not intended to be serviced individually.
3 Check the sealing surfaces and the parts they join
A seal needs the correct contact surfaces as well as the correct material. Inspect the washer for cuts, a folded edge, missing sections or obvious distortion. Check the housing for cracks, deformation and damaged threads. A new washer cannot restore the shape of a damaged housing or make incompatible threads align.
Neoperl describes a conventional housed aerator as a housing, insert and washer. These components must form a compatible assembly. An insert that fits through the opening is not automatically the correct height or profile for the housing and seal. Compare the complete arrangement with the parts diagram rather than checking only its outside diameter.
Clean accessible dirt from the sealing seat and mounting threads using the approved method. Neoperl’s care guidance specifically includes these areas and recommends thorough rinsing. Keep any cleaner compatible with the faucet finish and service parts. Repeated chemical soaking is not a remedy for a torn seal or mismatched housing.
After cleaning, inspect again under good light. If a crack, chipped seating edge or persistent deformation remains, record it before ordering parts. A photograph of the damaged surface, alongside the faucet model, is more useful to support staff than a statement that the aerator “will not tighten.” Stop applying force if the spout itself moves or the connection deteriorates.
4 Confirm the replacement matches the whole assembly
If the original part worked before cleaning, compare the reassembled original with your photographs first. If you installed a replacement, compare its connection and sealing arrangement with the old part. “Same brand,” “standard size” and a similar chrome finish are insufficient to establish fit.
Record the faucet model and the service part number where available. Then identify whether the connection is male or female, its complete thread designation, the insert dimensions and the seal configuration. A diameter measurement helps narrow the search, but cannot confirm thread pitch or the location where the washer must seat.
For a loose flat washer, compare outside diameter, inside diameter, thickness and profile against the specified replacement. Measure gently if using a caliper: compressing a flexible washer changes the reading. An old seal may be flattened or distorted, so its dimensions are clues to confirm against the manufacturer, not an automatic specification for a new part.
Bring the complete old assembly to a plumbing supplier when the part cannot be identified from documentation. The City of Calgary’s faucet-repair guide recommends taking the old washer to the store for matching. Include the housing and model information so the replacement can be checked in context.
Keep flow rating and stream type in the comparison if replacing the insert or full aerator. Repairing a leaking seal does not require increasing flow. Select the replacement approved for the faucet and applicable local requirements, and confirm what is supplied rather than assuming a product photograph shows every included component.
Consider two hypothetical cases. In the first, the original housing threads on normally and its washer has a visible cut. A correctly matched replacement washer is a sensible next purchase. In the second, a new housing barely engages the spout and leaks despite an undamaged washer. Buying a thicker ring would leave the connection mismatch unresolved. Return to the part identification before choosing a different seal.
Compare old and new components side by side on a clear surface. Label which housing belongs with which insert, especially if several replacements have already been tried. Combining the old housing, a new insert and a washer from another package makes it difficult to establish which assembly was actually tested. Keep each candidate set together until you have confirmed a working configuration.
5 Reinstall evenly and follow the specified tightening method
Align the housing squarely and start it gently by hand where the design permits. If it immediately binds, sits at an angle or requires a tool just to engage the first threads, remove it and inspect alignment and compatibility. Continued force can obscure the original problem by damaging the connection.
Danco’s installation guide instructs users to position the washer, align the aerator and tighten until snug without overtightening. It also advises checking washer position and even threading when a leak appears. Follow the instructions supplied with your exact part; “tighten harder” is not a complete repair procedure.
Some designs require a matching service key. Make sure its teeth engage fully before turning it. A slipping key can damage the removal notches while leaving the fitting only partly installed. Use the installation depth and tightening instructions for that design, rather than assuming an exposed metal housing and concealed plastic insert install identically.
Do not use thread tape, adhesive or sealant as a substitute for the specified gasket and fit. A package may include tape for other connections, but that does not establish that it belongs on your aerator threads. Use a sealing compound only when the exact product instructions require it. If the joint needs an improvised stack of seals to stop leaking, reassess the assembly.
Before testing, remove the drain cover used to catch small parts and clear the basin. Start the water gently, then test at your usual operating setting. Dry the joint between checks so old droplets do not hide a fresh leak. Check the deck and cabinet as well as the outlet if those areas were wet before the repair.
6 Decide whether the repair is finished or parts are needed
A successful result is a dry joint, the intended stream and no new moisture elsewhere during normal use. Check again after the faucet has been operated several times. For a swivel attachment, move it through the positions you normally use and confirm that movement does not loosen the connection to the spout.
Record a short video if the leak is intermittent. Include the joint where water first appears and the handle setting that triggers it. A close-up taken after everything is wet loses that sequence. You do not need an elaborate test record; a clear before-and-after observation can make a manufacturer support conversation much more productive.
If the same joint leaks immediately, turn the handle off and inspect the seal position and connection again. Repeated disassembly without a new observation is unlikely to help. Compare what changed between attempts: washer, insert orientation, housing or installation method. Keep the investigation specific enough that a supplier can understand what has already been ruled out.
A washer-only repair is reasonable when the housing and insert remain serviceable and the correct replacement seal is available. A complete aerator is the clearer route when several components are damaged, an integrated seal is not separately serviceable, or the installed parts cannot be matched into a supported assembly. Neither route guarantees a repair if the spout’s sealing surface is damaged.
Ask for manufacturer or plumbing assistance when the correct assembly still leaks, the spout connection is damaged, or water appears inside the faucet body or cabinet. Provide the model, part number, photographs of the separated components and a brief description of when water appears. This turns “I tried another washer” into a useful service request and reduces repeated purchases based on appearance alone.
Buy the identified part rather than an assortment of guesses
Before ordering a washer, write down its service number or confirmed dimensions and profile. For a complete replacement, include thread designation, seal arrangement, flow rating and faucet compatibility. Ask the seller to confirm any missing specification. A bag labeled “faucet washers” may contain seals for valves or other connections rather than the aerator you are repairing.
Be cautious about listings that combine several flow versions under one title or display a different selected variant from the model you searched. Confirm the actual version in the buying options, package label and supplied instructions. A large review total cannot resolve a contradiction between the product description and the part offered.
For occasional repairs, taking the old assembly to a supplier may be simpler than buying a measuring tool. If you regularly match small replacement parts, a digital caliper is useful for recording diameters and thicknesses. The Jiavarry 6-inch digital caliper is one measurement-tool candidate to compare. It does not identify rubber composition, verify potable-water suitability or determine which seal a faucet manufacturer approves.
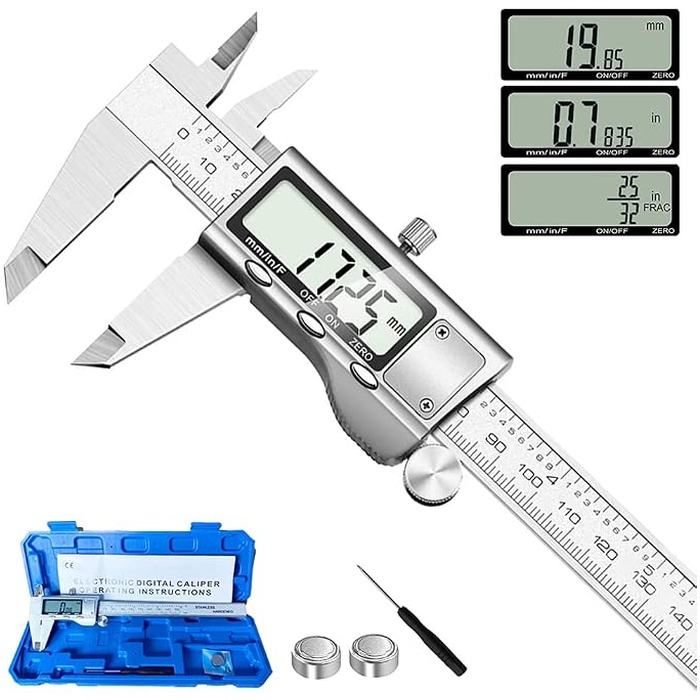
Jiavarry 6-inch digital caliper
A caliper for recording the diameter and thickness of small replacement parts, which is useful when you match seals repeatedly. It measures; it does not identify rubber composition, confirm potable-water suitability, or tell you which seal a faucet maker approves.
- Role: Amazon consumer option
- Digital readout in mm and inches
- For measuring seals and inserts
- Does not certify water-contact suitability
- MOQ: Check current listing
Use a caliper away from running water and dry components before measuring. Close and zero the jaws according to its instructions, then use light contact on a flexible seal. Repeat the measurement without squeezing it and retain the unit with each reading. Display resolution is not a guarantee that a worn rubber part can be measured to that precision.
Keep the confirmed replacement details with the faucet model after the repair. Buy extra seals only when the first correct part has been fitted and checked. The useful spare is a labeled seal for an identified assembly, not a collection of similar rings that will need to be guessed through again at the next cleaning.
Hook this up to your favourite commenting platform — Giscus, Disqus, or your own.
Continue reading
Do Washing Machine Anti-Vibration Pads Stop Walking?
A pad that has shifted out from under the washer is a symptom, not the diagnosis. Check the machine is stable and the foot fits the cup before buying a grippier set.
When a Silicone Faucet Mat Pools Water, Check the Fit and Drain Path
A mat that holds a puddle is failing at one of three points: the counter does not drain toward the bowl, the mat is set the wrong way, or its outlet is blocked.
How to Keep a Cutting Board From Sliding on a Countertop
Most boards move because of a film of water or oil, a warped corner, or an overhang, not because the board is light. Find the cause, then pick a damp cloth or a grip pad.