How to Fix a Snag in a Cashmere Sweater Without Cutting the Yarn
A repair guide for an intact pulled loop and the tight stitches around it
 Lena Schmidt
Disclosure: We may earn a commission if you purchase through links on this page, at no additional cost to you.
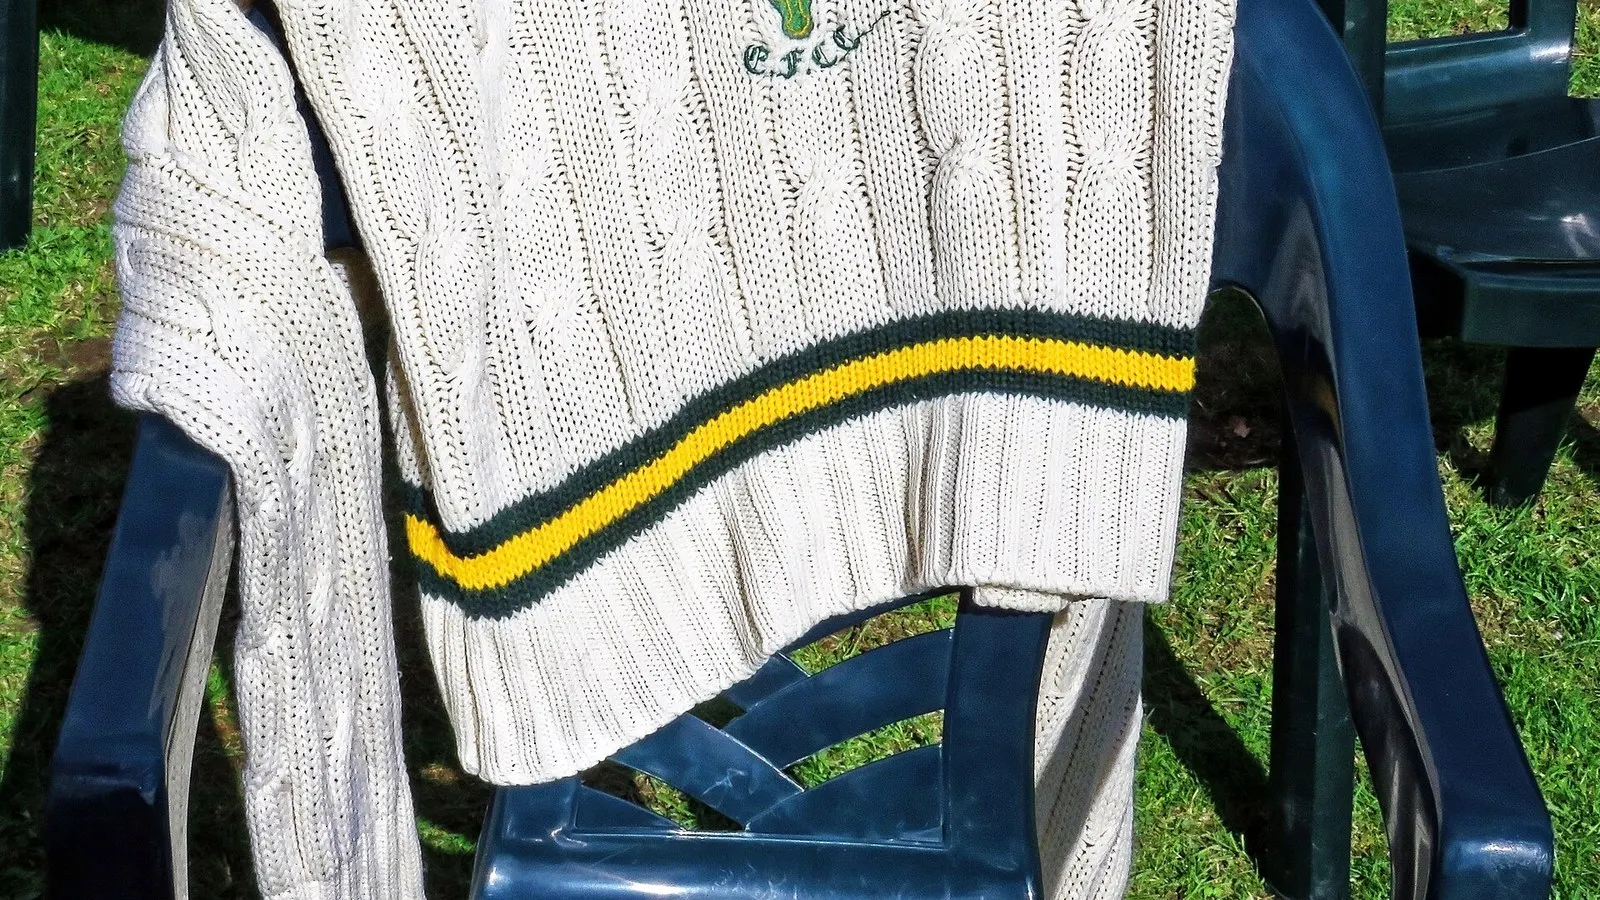
A loop is hanging from your cashmere sleeve, and a tight line runs away from it. Leave the loop uncut. If the yarn is still intact, the job is to move displaced yarn back into the knit or, where appropriate, bring the remaining loop to the inside. Cutting it can turn an appearance problem into broken stitches.
Start with the sweater dry and supported on a smooth surface. Check for broken ends, an opening or stitches that have dropped out of place. Those need a different repair. For a simple intact snag, use gentle handling and a fine tool that passes through an existing stitch opening without force. Inspect the front afterward: hiding the loop does not necessarily remove the tight line.
First find out whether the yarn is still intact
Look closely before choosing a tool. Cashmere fuzz can conceal a break, and an enlarged stitch can look like a hole even when the yarn has not snapped. Good light and a magnifier are more useful here than pulling the fabric apart to see what happens.
| What you can see | What it suggests | Next action |
|---|---|---|
| A closed loop with continuous yarn and no dropped stitches | A localized snag may be suitable for careful home work. | Keep the loop intact and inspect the surrounding stitches. |
| A pulled loop plus a narrow tight or puckered line | Yarn has been drawn out of nearby stitches. | Address the uneven tension as well as the protruding loop. |
| Broken yarn ends or a run of dropped stitches | The structure needs repair, rather than simply hiding a loop. | Stop the snag procedure and use a knit repairer or a suitable hole repair method. |
| Several fuzzy balls with no enlarged stitch | Pilling is a different surface problem. | Use the separate depilling guide; do not shave a structural loop. |
For missing or broken yarn, see ObjectBrief’s guide to choosing a darning mushroom, needle and repair yarn. A snag picker cannot replace missing yarn or reconstruct a ladder of dropped stitches.
Related guide: Darning Mushroom or Needle and Yarn for Wool and Cashmere.
A hidden loop and an even surface are different results
The visible loop may contain yarn that used to sit in several neighboring stitches. Moving that loop behind the fabric changes where you see it; the nearby stitches can remain drawn tight. This explains why a repair may look tidier but still show a stripe or a small dimple.
ASTM’s published snagging guidance distinguishes protrusions from distortions when assessing fabric appearance. It is a laboratory assessment, not a home repair method, but the distinction is useful when inspecting your result. Check both the raised yarn and the shape of the surrounding fabric.
For a plain knit with stitches you can follow, the aim is to return some of the excess yarn to the tightened stitches. For cables, lace, brushed surfaces or colorwork that you cannot trace confidently, moving yarn experimentally can disturb the pattern. A specialist is a better choice when the stitch path is unclear.
Choose a tool by its working end
You need to control one loop without catching the surrounding yarn. A tool described as “small” can still be too large for a fine cashmere knit. GOBI’s cashmere guidance specifically distinguishes a very fine crochet hook from an ordinary hook used for thicker wool. That is a fit requirement, not a universal hook size.
| Tool | How it handles the snag | Check before using it |
|---|---|---|
| Fine crochet hook | Catches an intact loop and brings it to the reverse side. | The hook and shaft must pass through an existing opening without widening it or splitting yarn. |
| Miniature latch hook or knit picker | A small hinged latch closes over the captured loop. | Check that the latch closes smoothly and does not catch adjacent stitches on the return pass. |
| Textured snag needle | A roughened or ribbed section catches protruding yarn as the tool passes through. | Follow that model’s instructions. Its action differs from a latch hook; it is not a universal substitute on fine cashmere. |
A smooth, suitably fine blunt needle may also help an experienced knitter ease yarn between adjacent stitches. A large darning needle is useful for other repairs but can be a poor fit here. If the tool needs pressure to enter, put it down. Do not make the opening larger to accommodate the tool.
Work on the snag while the sweater lies relaxed
1 Take the weight off the damaged area
Remove the garment carefully, keeping the loop away from rings, zips and watch clasps. Lay it on a clean surface and separate the front and back layers. Photograph the pull before touching it so you can compare the loop and the tight line afterward. Keep the fabric relaxed rather than stretched over a support.
2 Inspect the loop and the stitch path
Find where the loop emerges. Look along the nearby row for stitches drawn smaller than their neighbors. If you see broken yarn, cannot distinguish the stitch openings, or find several intertwined pulls, stop here. A quick phone photograph enlarged on screen can help you describe the damage to a repairer.
3 Ease the tightened stitches only if you can follow them
For a straightforward intact pull, an experienced knitter can use a fine, smooth tool to move a little of the excess yarn from the enlarged loop into the next tightened stitch, then work along the same yarn path. Make small adjustments and compare each stitch with the undamaged area. This is careful redistribution, not a broad stretch across the sweater.
If you cannot see which stitch should receive the yarn, do not guess. Keep the loop protected and ask a knit repairer. Pulling the whole panel in several directions can exchange one distortion for another, especially in patterned or very fine work.
4 Bring a remaining loop to the reverse side when appropriate
A small loop can sometimes be moved to the inside after assessment. For the Dritz latch hook method, open the latch and pass the tool from the wrong side toward the right side near the snag. Catch the loop, close the latch and withdraw it gently to the wrong side. These directions apply to a latch hook; a textured snag needle follows a different sequence.
Capture the whole loop rather than a few surface fibers. Keep the route close to its original stitch and avoid catching the other garment layer. Stop if the hook will not return freely, the loop becomes taut, or the surrounding fabric starts to pucker. Do not pull extra yarn through simply to make the loop less visible.
5 Compare both sides before you finish
Lay the area flat again and compare it with your photograph. The loop should be less exposed, the adjacent stitches should not be tighter, and there should be no new opening or loose end. Check under angled light as well as straight on. A change in texture may be easier to see from the side.
A residual loop inside the garment is not automatically a reason to tie a hard knot or cut it. If it is long enough to catch during dressing, or repeatedly works back to the front, have a repairer assess how to redistribute or secure it without pulling on the surrounding knit.
If a line remains after the loop is inside
A remaining line usually means the appearance problem was not confined to the protruding loop. Stop making passes with the tool and inspect the stitch sizes again. If you can see the same pulled yarn running through a plain row, a skilled knitter may be able to redistribute it further. If the line crosses a cable, seam or colored motif, take a clear photograph and ask for a tension repair.
There is no reliable universal rule that a snag below a particular length is safe to repair at home. A short pull in a very fine, fragile knit may be harder than a longer loop in a sturdy sweater. The condition of the yarn, the stitch structure and your ability to see the work matter more than a ruler measurement.
When speaking to a repairer, describe whether the yarn is continuous, where the line runs, and what you have already done. Say if the snag was cut or treated with adhesive. That information is more useful than asking only whether the sweater can be made “like new.”
Keep scissors and surface treatments away from an intact snag
A pill, a loose sewing tail and a pulled knitted loop are different things. Do not use a fabric shaver, sweater comb or scissors to remove a loop simply because it stands above the surface. Cutting or abrading structural yarn can create damage that the snag procedure was meant to avoid.
Glue and clear nail polish do not return yarn to neighboring stitches. This guide does not recommend adding them to fine cashmere as a routine way to hold a snag. An adhesive also changes the material a repairer will have to work with if the first attempt fails.
Steam and washing are not required first steps for moving an intact loop. Keep the repair dry while you assess it. Any later washing, steaming or pressing must follow the garment’s care instructions; it should not be used to hide a result you have not inspected.
Two small tools to compare before buying
If you already own a fine, smooth hook that fits the knit, you may not need another tool. For occasional snags, one appropriate tool is enough. These are mechanism comparisons based on manufacturer instructions and current listings, not a hands on cashmere test.
Dritz Knit Picker for an accessible intact loop
This miniature latch hook is the more directly controlled option when you can isolate a loop and the tool fits the knit. Prym Americas describes opening the latch, entering from the wrong side, capturing the snag and drawing it back with the latch closed. The important buying check is the working tip, not the overall handle length.
It is not suitable merely because the package mentions knitwear. If the closed latch cannot pass through your stitch opening freely, choose a finer tool or a repair service.
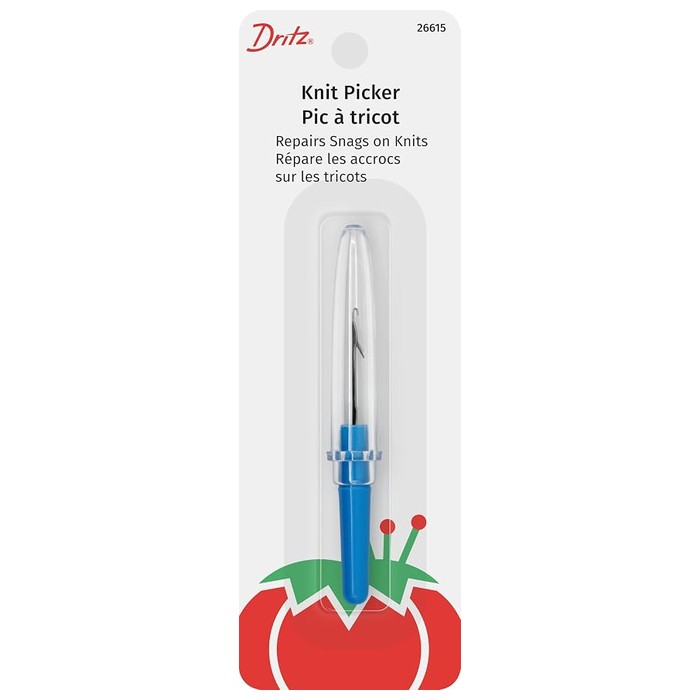
Dritz Knit Picker for an accessible intact loop
A miniature latch hook for pulling an intact loop through to the reverse side. The listing showed 4.7/5 from 2,208 ratings and 500+ bought in the past month at about $6.18, and individual reviews note that the tip can still be too large for very fine knits. Check the latch and handle assembly before you rely on it for cashmere.
- Role: Amazon consumer option
- Latch hook for an intact displaced loop
- Check the tip size against fine knits
- Not a substitute for darning missing yarn
- MOQ: Check current listing
Dritz Snag Nab It as a different mechanism
The Snag Nab It uses a textured section rather than a hinged hook. Its manufacturer instructs users to pass the tool through the fabric at the snag and then gently realign the area. That action can be useful for some protruding threads, but it does not make the tool the default choice for an obvious cashmere loop.
Choose it only after reading the specific instructions and checking suitability on a comparable low risk fabric. A higher purchase count does not establish that the textured section is right for your sweater. You do not need to buy it alongside a latch hook to complete a simple repair.
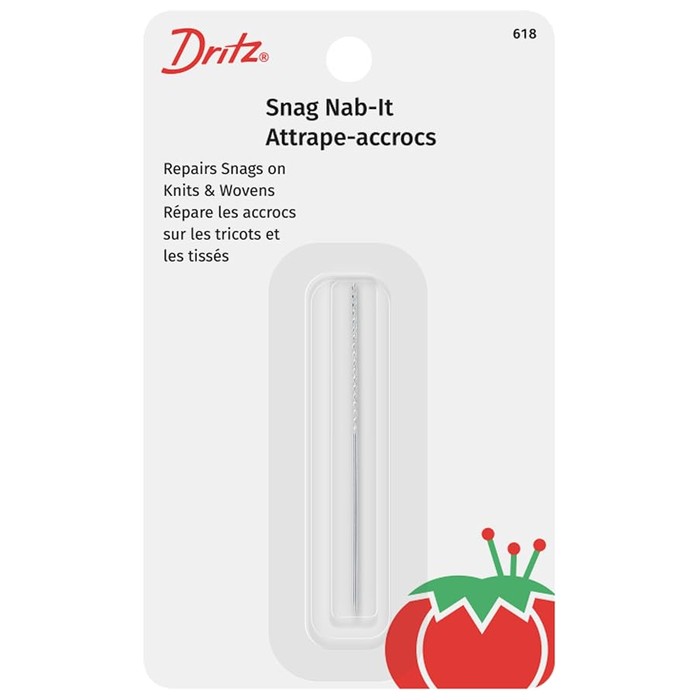
Dritz Snag Nab-It textured snag repair needle
A different mechanism: a textured section rather than a hinged hook. The listing showed 4.7/5 from 3,109 ratings and 3K+ bought in the past month at about $3.39. The stronger purchase signal does not make it the better tool for an accessible cashmere loop, so read the maker's instructions and test it on a comparable knit first.
- Role: Amazon consumer option
- Textured needle rather than a latch hook
- Read the maker's instructions first
- Test on a comparable knit before cashmere
- MOQ: Check current listing
Prevent the next catch
Inspect the object that caused the pull: a ring setting, rough bag fitting, desk edge, nail or pet claw may still be waiting for the next sleeve. Handle the sweater away from exposed hook and loop fasteners and open zips. Fold it after use and keep the repaired area from catching while you put it away.
For fine knitwear, stopping at a modest improvement can be the better repair decision. Keep the yarn continuous, avoid enlarging the opening, and judge the surrounding stitches as carefully as the loop itself.
Reference
- ASTM D3939 D3939M 26 Standard Test Method for Snagging Resistance of Fabrics Mace Source
The publicly available standard overview supports the distinction between protrusion and distortion. It does not validate this home repair procedure.
Hook this up to your favourite commenting platform — Giscus, Disqus, or your own.
Continue reading
Do Washing Machine Anti-Vibration Pads Stop Walking?
A pad that has shifted out from under the washer is a symptom, not the diagnosis. Check the machine is stable and the foot fits the cup before buying a grippier set.
When a Silicone Faucet Mat Pools Water, Check the Fit and Drain Path
A mat that holds a puddle is failing at one of three points: the counter does not drain toward the bowl, the mat is set the wrong way, or its outlet is blocked.
How to Keep a Cutting Board From Sliding on a Countertop
Most boards move because of a film of water or oil, a warped corner, or an overhang, not because the board is light. Find the cause, then pick a damp cloth or a grip pad.